How to Grow Microgreens at Home: A Nutritional Powerhouse in 8 Easy Steps
Introduction
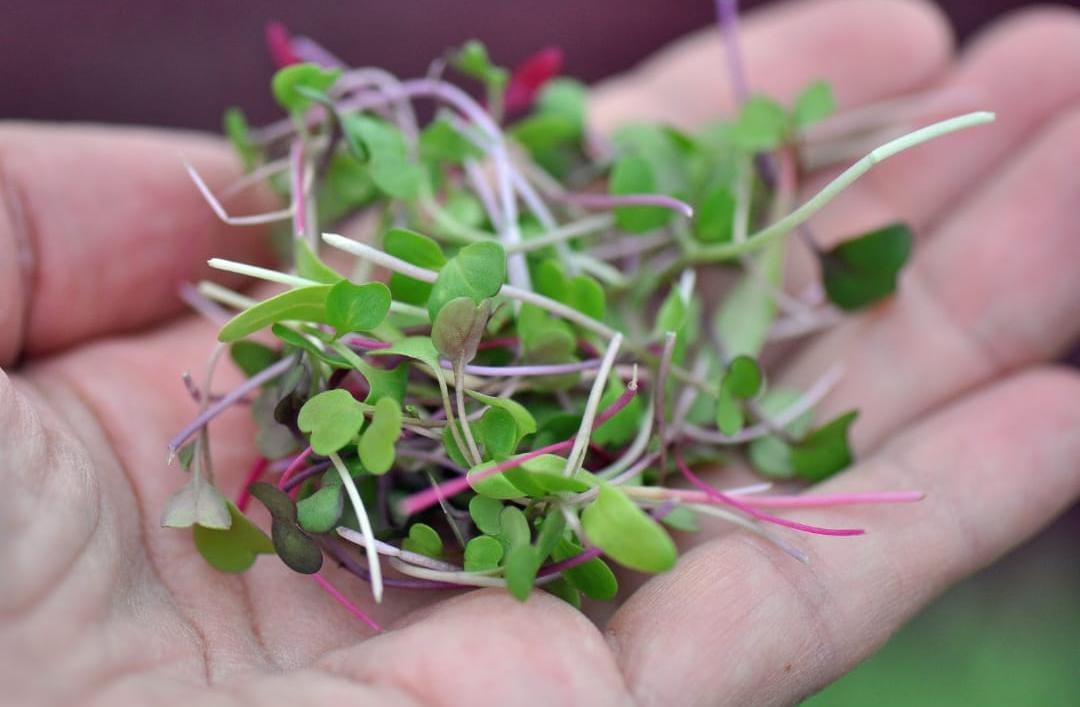
Growing microgreens at home is becoming an increasingly popular option to boost your diet’s nutritional and flavor profile. These small plants, taken just a few days after germination, are simple to grow and packed with health benefits. In this blog, we will look at microgreens, including how they vary from other greens, their nutritional benefits, the science underlying their growth, and practical suggestions for growing them successfully at home.
What Are Microgreens?
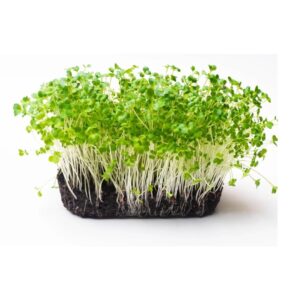
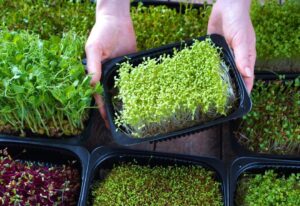
These are immature, delicate plants picked in their early stages of development, usually 7 to 21 days following germination. They are between the sprout and baby green stages of their growth cycle, with small leaves and stems but concentrated tastes and nutrients. Kale, radish, broccoli, sunflower, mustard greens, and pea shoots are the most common kinds.
Unlike sprouts, consumed with their roots and cultivated in water, microgreens are grown in soil or hydroponic environments. They are usually harvested when the first set of genuine leaves appear, making them simple to clip with scissors.
The Nutritional Powerhouse
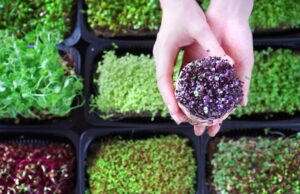
Microgreens are noted for their high nutritional richness. According to the USDA and the University of Maryland, microgreens can contain 4 to 40 times more nutrients than mature plants. This includes minerals such as potassium, magnesium, and zinc, as well as vitamins C, E, K, and beta-carotene. Their small size does not limit their effectiveness, as they contain polyphenols and antioxidants that help neutralize free radicals in the body, boosting overall health.
Key Benefits
- Improved Immunity: The high concentration of vitamins C and E strengthens the immune system.
- Heart Health: Microgreens like red cabbage and arugula contain polyphenols, which can reduce inflammation and lower the risk of cardiovascular disease, thus promoting heart health.
- Digestive Health: Fiber-rich greens like pea shoots are essential for promoting gut health and ensuring proper digestion.
- Cancer-Fighting Properties: Sulforaphane, found in broccoli microgreens, is an effective anti-cancer chemical.
- Weight Management: Due to their low-calorie content and high nutrient richness, microgreens are a great addition to healthy diets.
The Science Behind Growth
Microgreens flourish in a regulated atmosphere, thus they are suitable for indoor growing. Favorable germination circumstances such as moisture, temperature, and light promote their quick growth. Initially, the seeds rely on their own nutrient stores, allowing them to sprout swiftly.
When the initial cotyledon (seed) leaves emerge, photosynthesis begins in microgreens. Light is required at this stage to drive energy generation and chlorophyll synthesis, which gives the leaves their brilliant green color. Depending on the species, most microgreens can be harvested 7 to 14 days after sowing, just before their leaves emerge.
Growing Process
1. Choose Your Microgreen Varieties
Choose seeds branded as microgreens or organic seeds free of chemical treatments. Popular varieties are:
a. Radish and Mustard Greens: Spicy and rapidly growing
b. Broccoli: Mild taste with anticancer properties
c. Sunflower Shoots: Nutty taste, high in healthful fats
d. Pea Shoots: Crisp texture, pleasant taste
2. Gather Your Materials
To cultivate microgreens at home, you will need:
a. Shallow trays or containers with drainage holes
b. A high-quality seed-starting mixture or growing media (coco coir, peat moss, or soil)
c. Mist with a spray bottle and place under LED grow lights or on a sunny windowsill.
d. Seeds of your choosing
3. Prepare the Growing Medium
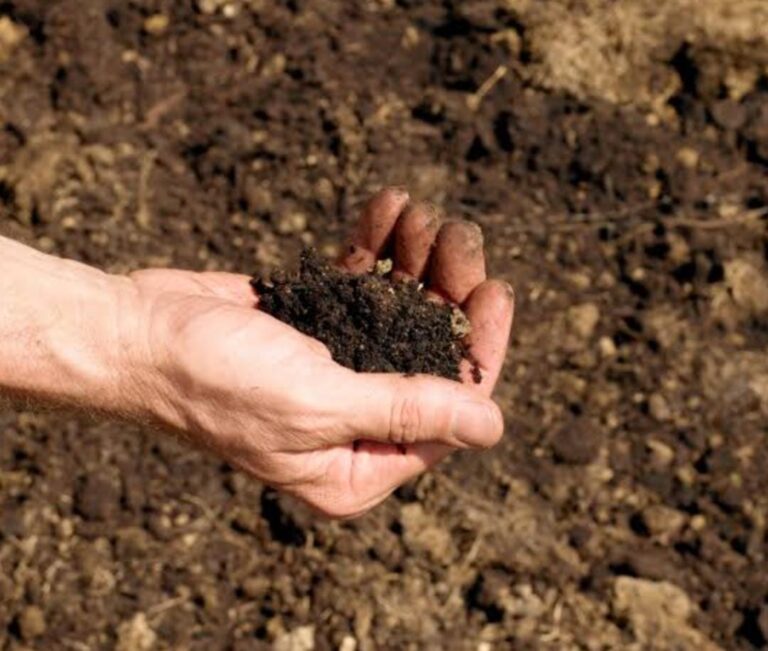
Fill the tray with 1-2 inches of damp soil or growing medium. To prevent mold growth, keep the medium wet but not water-logged.
4. Sow the Seeds
Sprinkle the seeds evenly across the surface, avoiding overcrowding. Press them gently into the earth, but don’t fully cover them. Certain seeds, such as radish and mustard, require sunshine to germinate.
5. Mist and Cover
Mist the seeds with a spray bottle, then cover the tray with a lid or plastic wrap to keep the humidity in. Place the tray in a warm setting, around 70-75° (21-24°C), until the seeds sprout.
6. Provide Light
Once the seeds have germinated, remove the lid and place the tray under grow lights or on a bright windowsill. Ensure they get 12-16 hours of light daily to promote photosynthesis and healthy growth.
7. Water Gently
Mist the soil with water twice every day to keep it moist. Avoid over watering, which can lead to root rot or fungal concerns.
8. Harvest Time
Harvest your wonderful creation when the first real leaves appear, which usually happens within 7 to 14 days. Use scissors to trim the stems slightly above the soil line. Prior to ingestion, lightly wash them.
Hydroponic: A Soil-Free Option
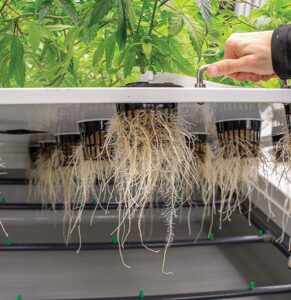
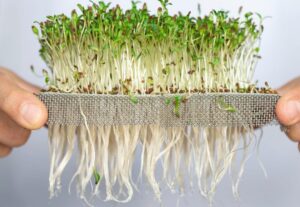
Microgreens can also be grown hydroponically, without the requirement for soil. This approach involves placing seeds on moist growing mats made of hemp, jute, or coconut fibers. The mats are kept wet with nutrient-rich water to promote germination and growth.
Hydroponic systems lessen the likelihood of soil-borne infections and make it easier to have a clean growth environment. They’re great for people who live in small apartments or want low-maintenance gardening alternatives.
Microgreens and Sustainability
Growing microgreens at home promotes sustainable living habits. They take less area, water, and energy than traditional gardening, yet they develop so quickly that they are less susceptible to pests. Additionally, adopting eco-friendly trays or recycling old containers helps to reduce trash. Microgreens can be cultivated indoors year-round, ensuring a steady supply of fresh produce even in urban areas.
Maintenance and Home Remedies
Keeping your crop fresh and odor-free is critical, especially since poor growing conditions can occasionally result in a musty or disagreeable odor. Here are some excellent home cures and preventative methods for avoiding foul odors from microgreens:
1. Improve Air Circulation
Why does it help? Poor ventilation promotes mold growth, which produces a sour or musty odor.
Solution: Place a fan near your microgreens for better ventilation. Open windows or keep your microgreens in a well-ventilated environment. Avoid overcrowding trays; correct spacing allows air to circulate among the plants.
2. Control Watering
Why does it help? Over watering causes excess moisture, which can promote bacterial or fungal growth, and lead to unpleasant odors.
Solution: Use a spray bottle to lightly water the soil instead of soaking it completely. Water only when the soil’s surface feels dry. Remove excess water from the hydroponic matting. To ensure proper moisture balance.
3. Use Cinnamon as a Natural Fungicide
Why it helps? Cinnamon is a natural anti-fungal agent that prevents mold formation, which can cause unpleasant odors.
Solution: After planting your seeds, lightly coat the soil with cinnamon powder. If you find any evidence of mold, repeat in a few days.
4. Hydrogen Peroxide Spray
Why it works? A diluted hydrogen peroxide solution prevents mold and germs without hurting your microgreens.
Solution: Mix 1 part 3% hydrogen peroxide and 10 parts water in a spray container. To prevent odors, lightly spray the soil or growing medium once every several days. Be careful not to overdo it, as it can harm beneficial microbes.
5. Add Activated Charcoal
Why it works? Activated charcoal absorbs moisture and eliminates odors.
Solution: Keep a small container of activated charcoal near the growth area. You can also add a tiny amount of activated charcoal to the soil to help control moisture and avoid odor accumulation.
6. Use Lemon or Vinegar for Cleaning
Why does it help? Residue from past crops or improperly sanitized trays might contain bacteria, resulting in odor difficulties.
Solution: Between crops, properly clean your trays and containers with a mixture of vinegar and water or lemon juice and water. Rinse thoroughly and allow to air dry before reusing.
Regular cleaning eliminates cross-contamination between microgreen batches.
7. Avoid Soil Compaction
Why does it help? Compacted soil can restrict air flow to the roots, resulting in unpleasant odors as the roots struggle to breathe.
Solution: Loosen the dirt lightly before planting your seeds. Avoid pushing the dirt too hard when planting. Use light, well-drained soil to promote healthy root growth and reduce odors.
8. Manage Temperature and Humidity Levels
Why does it help? High humidity can stimulate mold growth, resulting in musty odors.
Solution: Keep humidity levels between 40 and 60%. If you observe condensation on trays, lower the humidity. Avoid placing microgreens in too warm or humid environments, such as near a kitchen stove or humidifier.
9. Add a Layer of Vermiculite or Sand
Why does it help:? Vermiculite and sand absorb excess moisture, lowering the danger of mold growth.
Solution: After spreading your seeds, sprinkle a thin layer of fine sand or vermiculite on top of the soil. This layer regulates moisture levels and prevents smells from forming.
10. Harvest Microgreens on Time
Why does it help? Allowing microgreens to overgrow can cause rotting, which contributes to an unpleasant odor.

Solution: Harvest your greens when they reach the appropriate size (typically 7-14 days). Harvested microgreens should be stored in the refrigerator and not left in water.
Following these simple home cures and preventive measures, you can keep them fresh, healthy, and odor-free throughout their life cycle.
Creative Ways to Use
This wonder of nature is more than simply a garnish; it may enhance a variety of foods. Here are some suggestions for incorporating them into your meals:
- Smoothies: For an extra nutritional boost, add pea or sunflower shoots to your smoothies.
- Salads: Use microgreens as a foundation for colorful salads.
- Sandwiches and wraps: Add a spicy kick by layering mustard or radish microgreens.
- Soups: Add texture and taste to creamy soups by topping them with microgreens.
Pasta & Pizza: Sprinkle microgreens over warm pasta or pizza before serving.
The Future of Microgreens: A Growing Trend

As interest in health-conscious eating and sustainable practices grows, they are becoming more than simply a fad. They provide a practical way for consumers to cultivate fresh, nutritious food at home, minimizing reliance on pre-packaged greens. Beyond personal usage, these are becoming increasingly popular in fine dining and urban farming, where chefs and producers experiment with novel types and flavors.
Growing microgreens requires little work and may turn home gardening into a joyful and rewarding activity. Whether you’re a beginner or a seasoned gardener, these small greens offer a year-round yield and a variety of health advantages.
Conclusion
Growing microgreens at home allows you to foster health, sustainability, and creativity. They have gained a position in modern households thanks to their nutrient-dense profile, simplicity of production, and culinary diversity. Whether you enjoy gardening as a pastime or are motivated to eat healthier, these are a fantastic addition to your diet. In just a few weeks, you may harvest brilliant greens that will not only improve your meals but also fuel your health, proving that good things do come in little packages.
Disclaimer
The content provided on this website is purely for educational purposes. We are neither nutritionists nor do we intend to mislead our readers by providing any medical or scientific information.

